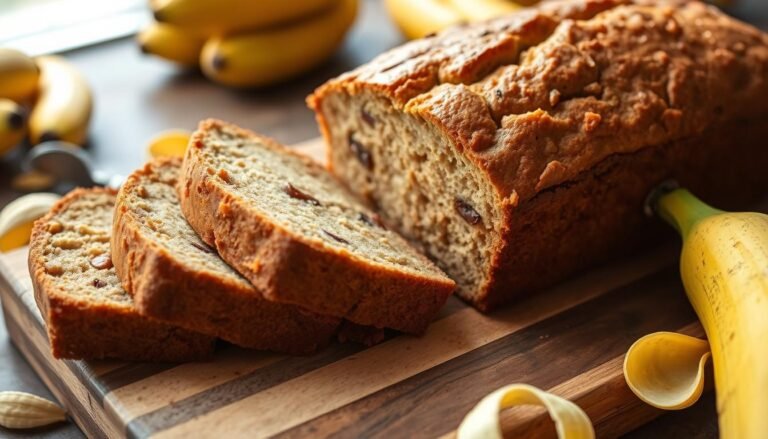
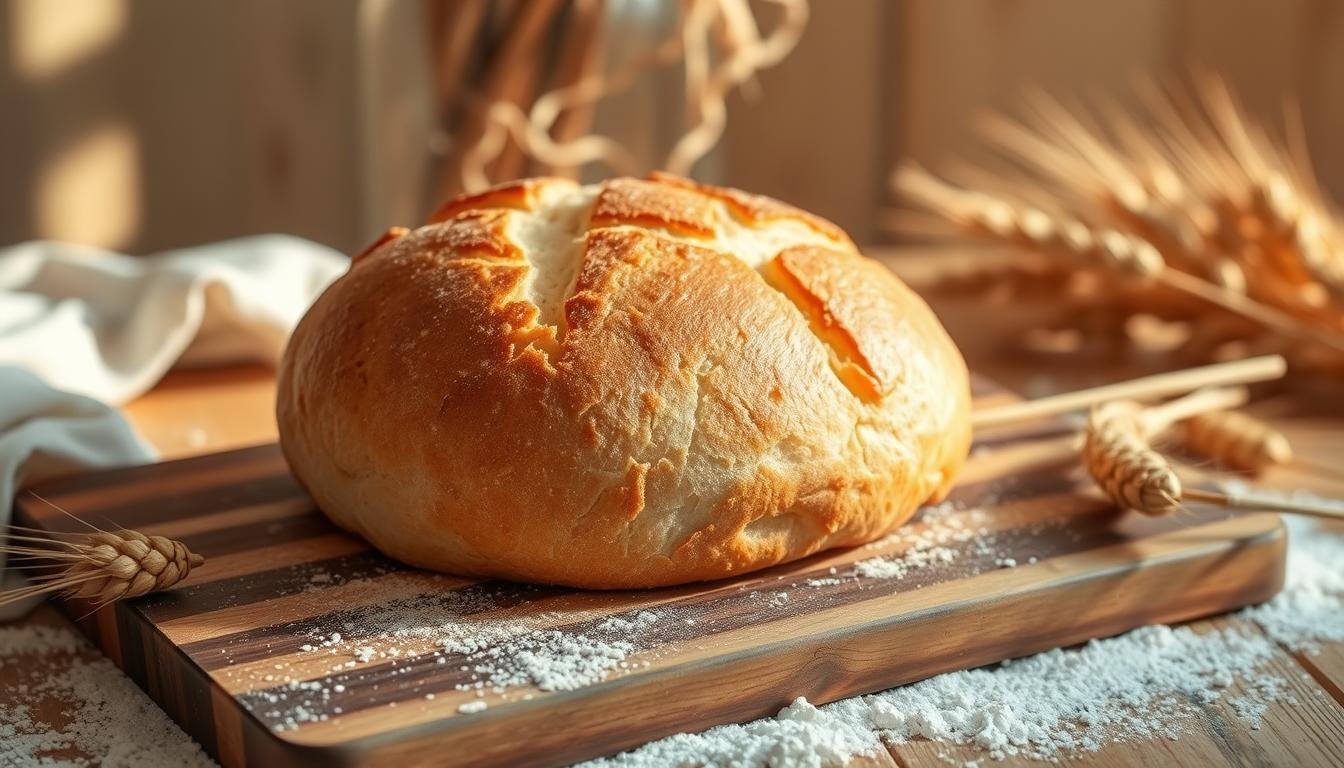
2 lb Bread Recipe for Breadmaker: Perfect Loaf Every Time

Every weekend, my kitchen fills with the warm smell of fresh bread. It turns our home into a cozy haven. I used to struggle with making bread at home, but then I found the magic of a bread machine. Your 2 lb bread recipe for breadmaker will make perfect loaves, just like the bakery.
Bread machine recipes are more than just easy. They bring back that warm, comforting feeling of homemade bread. This guide will help you make delicious 2 lb bread in your kitchen, whether you’re new to baking or experienced.
Key Takeaways
- Master the art of bread machine baking
- Learn foolproof techniques for consistent results
- Discover how to create bakery-quality bread at home
- Save money compared to store-bought bread
- Enjoy fresh, preservative-free homemade loaves
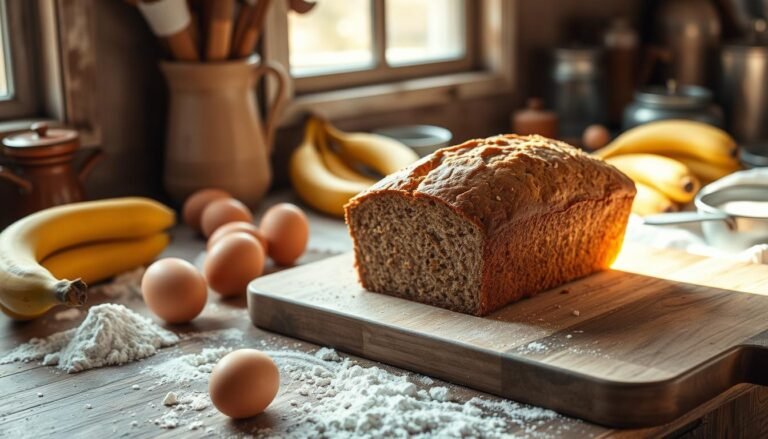
What You Need to Make 2 lb Bread
Making delicious homemade bread needs the right stuff. Whether you’re new or skilled, knowing the basics is key. It helps you make perfect bread every time.
Essential Ingredients for Your Bread
Quality ingredients are the base of any great bread. Here’s what you’ll need:
- Bread flour (high-protein content)
- Active dry yeast
- Salt
- Water
- Sugar or honey (optional)
“Baking bread is an art that begins with selecting the right ingredients” – Artisan Baker’s Wisdom
Recommended Breadmaker Features
When picking a breadmaker for your 2 lb loaf, look for these features:
- Loaf size settings
- Multiple baking modes
- Programmable timer
- Crust color control
- Non-stick pan
Helpful Tools for Baking Success
Boost your bread-making with these tools:
- Digital kitchen scale
- Instant-read thermometer
- Measuring cups and spoons
- Silicone spatula
- Cooling rack
With these ingredients and tools, you’re set to make amazing bread. It will wow your family and friends.
Choosing the Right Flour for Your Recipe
Choosing the right flour is key to making delicious bread in your breadmaker. The flour you pick affects the bread’s texture, rise, and quality. It’s important for a great homemade loaf.
Knowing the differences between bread flour types is crucial. Your breadmaker manual might suggest certain flours. But understanding these differences will make you a better baker.
Bread Flour vs. All-Purpose Flour: What’s the Difference?
Flours vary in their characteristics. Here’s a quick look at the main differences:
- Bread Flour: Higher protein content (12-14%), creates chewier texture
- All-Purpose Flour: Moderate protein content (10-12%), more versatile
- Protein content directly impacts gluten development and bread structure
| Flour Type | Protein Content | Ideal Use |
|---|---|---|
| Bread Flour | 12-14% | Yeast breads, artisan loaves |
| All-Purpose Flour | 10-12% | General baking, versatile recipes |
Gluten-Free Breadmaker Options
For those with dietary restrictions, gluten-free flours are available. These blends let you enjoy fresh bread without sacrificing taste or texture.
- Rice flour
- Almond flour
- Coconut flour
- Commercial gluten-free flour blends
“The secret to great bread is understanding your ingredients.” – Professional Baker
Pro tip: Always check your breadmaker manual for flour suggestions. Adjust liquid amounts when using different flours.
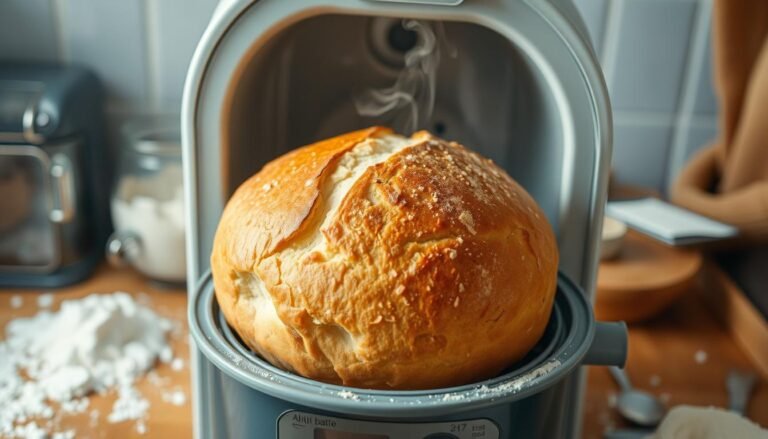
Step-by-Step Instructions for Your Breadmaker
Making the perfect bread loaf needs precision and knowing your breadmaker’s features. It’s important to master the knead dough cycle and pick the right bread loaf sizes. This will help you get bakery-quality bread at home.
Ingredient Preparation Essentials
Good bread starts with the right ingredients. Use standard measuring cups and spoons to measure each ingredient. Ingredients at room temperature mix and rise better.
- Ensure yeast is fresh and active
- Measure dry ingredients precisely
- Use lukewarm liquids for yeast activation
Configuring Your Breadmaker
Knowing your breadmaker’s settings is crucial for making great bread. Different machines have different knead dough cycle options. These options affect your loaf’s texture and quality.
| Bread Loaf Size | Typical Flour Amount | Recommended Cycle |
|---|---|---|
| 1 lb Loaf | 2 cups | Basic/Quick |
| 1.5 lb Loaf | 3 cups | Normal/Standard |
| 2 lb Loaf | 4 cups | Whole Wheat/Bulk |
“The secret to great bread is understanding your machine’s unique characteristics.” – Professional Baker
Pro tip: Always add ingredients in the order your breadmaker model suggests. Liquids first, then dry ingredients, and yeast last. This prevents yeast from activating too soon.
Tips for Perfecting Your Dough Consistency
Creating the perfect bread loaf requires understanding how dough consistency impacts your final product. Moisture levels and environmental conditions play crucial roles in achieving bakery-quality results with your breadmaker.

Achieving the right dough texture depends on several key factors. These factors can dramatically influence your proving times and baking temperatures.
Identifying Proper Hydration Levels
Hydration refers to the water-to-flour ratio in your bread dough. The ideal consistency helps develop gluten and creates the perfect bread texture.
- Soft, tacky dough indicates optimal hydration
- Dry, crumbly dough needs more liquid
- Overly wet dough requires additional flour
Adjusting Ingredients for Humidity
Humidity significantly impacts bread preparation. Different environments require slight recipe modifications to maintain consistent dough quality.
| Humidity Level | Flour Adjustment | Proving Time Impact |
|---|---|---|
| Low Humidity (Below 30%) | Add 1-2 tbsp extra liquid | Longer proving needed |
| High Humidity (Above 70%) | Reduce liquid by 1-2 tbsp | Shorter proving time |
“The secret to perfect bread is understanding how environmental conditions interact with your ingredients.” – Professional Baker
Pay close attention to your dough’s texture during mixing. The right consistency ensures optimal proving times. It also helps you achieve consistent baking temperatures across different cooking sessions.
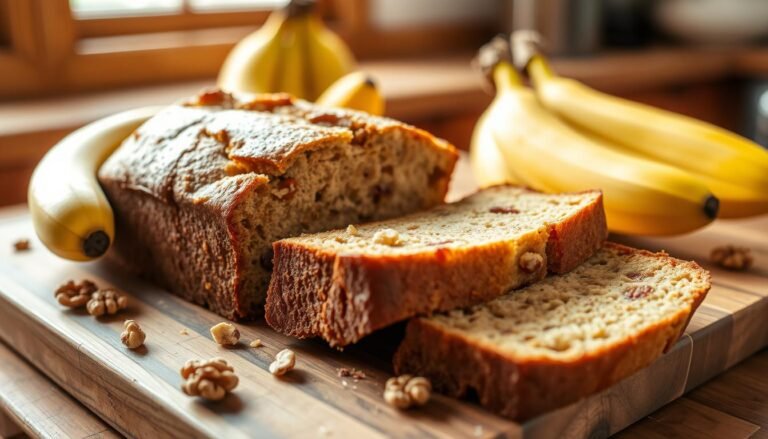
Flavor Variations to Try
Transform your 2 lb bread recipe for breadmaker into something special. Try new ingredients to make your homemade bread stand out. Surprise your family with unique flavors.
Exploring Herb and Spice Combinations
Herbs and spices can make your bread amazing. Here are some great pairs:
- Rosemary and garlic for a savory Mediterranean-inspired loaf
- Cinnamon and nutmeg for a sweet breakfast bread
- Thyme and black pepper for a robust, aromatic experience
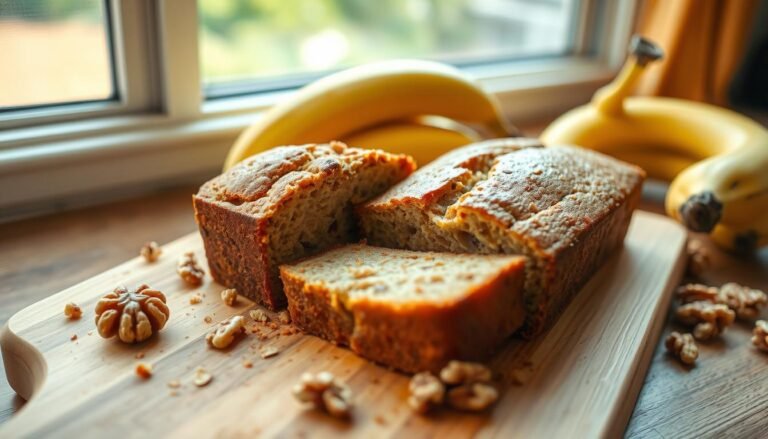
Fruits and Nuts: Adding Texture and Flavor
Fruits and nuts add delicious twists to your bread. They bring different textures and health benefits.
| Ingredient | Flavor Profile | Best Added |
|---|---|---|
| Dried Cranberries | Tart and sweet | At beginning of kneading cycle |
| Chopped Walnuts | Nutty and rich | Midway through kneading |
| Dried Apricots | Subtle sweetness | Near end of cycle |
“The secret to great bread is not just technique, but imagination.” – Unknown Baker
Pro tip: When adding extra ingredients, reduce liquid slightly. This keeps the dough right. Start small and adjust as needed.
Troubleshooting Common Bread Issues
Baking bread with a bread machine can sometimes present challenges. Even experienced home bakers encounter issues when creating their easy bread recipes. Understanding how to diagnose and solve common problems will help you perfect your bread machine recipes every time.

Dense or Heavy Bread Problems
When your bread turns out dense or heavy, several factors could be at play. Here are key reasons and solutions:
- Incorrect Flour Measurement: Always use precise measurements. Too much flour can create a dense loaf.
- Old Yeast: Check your yeast’s expiration date. Stale yeast won’t rise properly.
- Liquid Temperature: Ensure liquids are warm but not hot to activate yeast effectively.
“Precision is the key to light, airy bread in any bread machine recipe.” – Professional Baker
Fixing an Overheating Breadmaker
An overheating breadmaker can ruin your baking experience. Watch for these warning signs:
- Unusual burning smell during baking
- Exterior of machine feels extremely hot
- Bread consistently comes out too dark or burned
If you experience overheating, check your machine’s settings, ensure proper ventilation, and consider having it serviced by a professional.
Storing Your Homemade Bread
Keeping your homemade bread fresh is key. It doesn’t matter if you baked a small or large loaf. The right storage keeps it fresh and prevents it from getting stale too soon.
Best Practices for Freshness
Smart storage is the first step in keeping your bread fresh. For bread you’ll eat in 2-3 days, room temperature storage is best. Here are some tips to keep your bread fresh:
- Use a bread box with ventilation to prevent moisture buildup
- Wrap bread in a clean cotton cloth or paper bag
- Avoid plastic bags, which trap moisture and accelerate mold growth
- Store bread away from direct sunlight and heat sources
“Fresh bread is best enjoyed within 48 hours of baking” – Professional Baker’s Wisdom
Freezing and Thawing Techniques
Freezing is a great way to keep your bread fresh longer. Different sizes of bread need different freezing methods:
- Cool bread completely before freezing
- Wrap tightly in plastic wrap, then aluminum foil
- Label with the date of freezing
- Store frozen bread up to 3 months
To thaw, remove wrapping and let it sit at room temperature. For quicker warming, use a low-temperature oven for 5-10 minutes.
Creative Ways to Use Leftover Bread
Don’t let your delicious bread machine recipes go to waste! Turn leftover bread into new, exciting dishes. From crunchy croutons to decadent desserts, your homemade bread can take on exciting new life in the kitchen.
Every slice of bread holds potential for culinary creativity. Easy bread recipes can breathe new life into yesterday’s loaf. This ensures you maximize every crumb of your homemade bread.
Crafting Delicious Bread Crumbs and Croutons
Turning stale bread into versatile ingredients is simple and rewarding. Here are some quick methods:
- Bread Crumbs:
- Dice bread into small cubes
- Dry in oven at low temperature
- Pulse in food processor
- Store in airtight container
- Croutons:
- Cut bread into uniform cubes
- Toss with olive oil and seasonings
- Bake until golden and crispy
- Perfect for salads and soups
Sweet Transformations: Bread Pudding and French Toast
Leftover bread becomes a canvas for sweet creations. French toast and bread pudding offer delightful ways to repurpose your bread machine recipes.
“Waste not, want not” – transform your bread into culinary masterpieces!
| Dish | Preparation Time | Difficulty Level |
|---|---|---|
| Classic French Toast | 15 minutes | Easy |
| Chocolate Bread Pudding | 45 minutes | Moderate |
| Savory Bread Crumb Topping | 10 minutes | Easy |
With these simple techniques, your bread machine recipes will never go to waste. Embrace the art of transforming leftover bread into extraordinary dishes that delight your taste buds!
Baking Schedules: When to Make Your Bread
Adding bread baking to your daily routine can change your kitchen life. Modern breadmakers make making fresh loaves easy. Just know about proving times and how to use your breadmaker manual.
Timing is key for home bakers. Your breadmaker can help make tasty bread without messing up your day.
Planning Ahead for Fresh Loaves
Good bread baking needs planning. Here are some tips:
- Use the delay timer to plan bread-making
- Get ingredients ready the night before
- Choose recipes with short proving times for busy days
Balancing Bread with Your Daily Routine
Different breadmakers have unique scheduling options. Check your manual to learn about specific timing features:
| Bread Type | Proving Time | Total Baking Time |
|---|---|---|
| White Bread | 60-90 minutes | 3-4 hours |
| Whole Wheat | 90-120 minutes | 4-5 hours |
| Quick Bread | 30-45 minutes | 2-3 hours |
“Bread baking is an art of patience and precision” – Artisan Baker
Pro tip: Most breadmakers let you set baking times. This way, you can wake up to fresh bread or have a warm loaf ready when you get home from work.
Nutritional Benefits of Homemade Bread
Making a 2 lb bread recipe for your breadmaker lets you control what’s in your bread. You can pick top-quality ingredients and adjust the baking temperature. This way, you make a healthier choice than store-bought bread. Using whole grain flours, less sodium, and natural ingredients makes your bread a great pick for those who care about health.
Knowing how your bread affects your health is more than just picking ingredients. The baking temperature is also key. It helps keep important nutrients and flavors in your bread. Lower temperatures help keep proteins and vitamins intact, making your homemade bread a nutritional powerhouse.
Ingredients and Health Insights
When you make your own bread, you know exactly what’s in it. Unlike store-bought bread, which may have preservatives and additives, homemade bread is pure. You can add healthy ingredients like seeds, whole grains, and natural sweeteners. This boosts your bread’s nutritional value.
Portion Control and Serving Suggestions
Controlling your bread portions is important for a healthy diet. A slice is usually a good serving size, offering carbs and energy. Serve your bread with lean proteins, veggies, or healthy spreads. This way, you make meals that are good for you and help you reach your health goals.