Step-by-Step Guide to Blackberry Pie Filling for Beginners
The summer breeze carried the sweet fragrance of ripe blackberries from my grandmother’s garden. It brought back memories of her legendary pie. Recipes for berry pie are something we’ve all cherished over the years. This pie brought our entire family together. Making the perfect berry pie is more than just ingredients. It’s about creating moments of joy and connection.
If you’re new to baking or want to improve your berry pie skills, this guide is for you. Imagine pulling a golden-brown, bubbling blackberry pie from the oven. Its aroma fills your home with warmth and excitement.
Baking is an art that connects generations and creates lasting memories. With patience and passion, you’ll make a blackberry pie that tells a story on every plate.
Key Takeaways
- Master the fundamentals of creating a delicious blackberry pie
- Learn professional techniques for selecting and preparing ingredients
- Understand the importance of proper mixing and baking methods
- Discover tips for achieving the perfect pie crust and filling
- Create a homemade dessert that impresses family and friends
Recipes for berry pie
Making the perfect homemade berry pie needs careful planning and the right stuff. Your baking adventure starts with getting the key items and knowing what makes a great blackberry pie.
Essential Ingredients for Your Homemade Berry Pie
Choosing top-notch ingredients is key for your blackberry pie. Here’s what you’ll need:
- Fresh blackberries (4-5 cups)
- Granulated sugar
- Cornstarch
- Fresh lemon juice
- Vanilla extract
- Salt
“The secret to an amazing pie is using the freshest ingredients possible.” – Professional Baker’s Wisdom
Kitchen Equipment You’ll Need
For your homemade berry pie, you’ll need specific kitchen tools for success:
- 9-inch pie dish
- Rolling pin
- Large mixing bowl
- Measuring cups and spoons
- Pastry blender or fork
- Parchment paper
- Cooling rack
Pro tip: Having all your ingredients and equipment ready before starting will make your best berry pie recipe preparation smooth and enjoyable.
Preparing Your Blackberries
Making a tasty mixed berry pie begins with picking the right blackberries. The quality of your pie depends on the ingredients. It’s important to know how to choose, clean, and prepare your blackberries for a delicious dessert.
Choosing the Right Blackberries
Here’s what to look for when picking blackberries for your pie:
- Deep, rich purple-black color
- Plump and firm berries
- Consistent size and shape
- No visible mold or mushy spots
Proper Berry Cleaning Technique
Cleaning blackberries needs care. Follow these steps to keep your pie filling clean:
- Gently rinse berries under cool water
- Use a soft colander to prevent crushing
- Pat dry with clean paper towels
- Spread berries on a towel to air dry completely
“The secret to an amazing pie is starting with perfectly prepared fruit.” – Pastry Chef Elena Rodriguez
Don’t wash berries too early. Excess moisture can make your pie soggy. Prepare your berries just before making the pie filling for the best taste.
Making the Perfect Pie Crust
Creating a delicious berry pie starts with mastering the art of pie crust. A simple berry pie recipe requires careful attention to detail and the right techniques. The perfect crust can transform an ordinary dessert into an extraordinary culinary experience.
Before diving into the crust-making process, let’s explore the key elements that make a truly exceptional pie foundation.
Essential Ingredients for Your Crust
- 2½ cups all-purpose flour
- 1 teaspoon salt
- 1 tablespoon sugar
- 1 cup cold unsalted butter
- 6-8 tablespoons ice water
Mixing the Perfect Dough
The secret to a flaky pie crust lies in your mixing technique. Cold ingredients are crucial! Work quickly to keep the butter from warming up. Cut the cold butter into small cubes and incorporate it into the dry ingredients using a pastry cutter or food processor.
“A great pie crust is about technique, not perfection.”
Rolling and Shaping Your Crust
When rolling out your delicious berry pie crust, use these pro tips:
- Chill the dough for at least 30 minutes before rolling
- Use a marble or cold surface for rolling
- Roll from the center outward in smooth motions
- Rotate the dough to ensure even thickness
- Gently transfer to your pie dish without stretching
Your simple berry pie recipe is taking shape! The key is to handle the dough minimally to keep it tender and flaky. With practice, you’ll create a crust that’s both beautiful and delectable.
Crafting the Blackberry Filling
Making the perfect filling is key to a delicious berry pie. Your easy berry pie recipe needs the right mix of flavors and texture. The blackberry filling turns simple ingredients into a dessert that will wow everyone.

Sweetening with Sugar
Choosing the right sugar is important for your blackberry pie. Use granulated sugar to balance the berries’ tartness. Start with:
- 1/2 to 3/4 cup of sugar for every 4 cups of fresh blackberries
- Adjust sweetness based on the ripeness of your berries
- Consider using brown sugar for deeper flavor
Adding Flavor with Spices
Add subtle spice notes to your easy berry pie recipe. Some great options include:
- Ground cinnamon (1/2 teaspoon)
- Nutmeg (a pinch)
- Vanilla extract (1 teaspoon)
Thickening with Cornstarch
Cornstarch is key for the right pie filling consistency. It keeps your pie from being too watery and helps it set well.
| Berry Quantity | Cornstarch Amount | Filling Consistency |
|---|---|---|
| 4 cups blackberries | 3-4 tablespoons | Thick and glossy |
| 5 cups blackberries | 4-5 tablespoons | Perfectly set |
“The secret to an amazing berry pie is in the filling’s balance of sweetness, spice, and thickness.” – Professional Baker
Pro tip: Mix cornstarch with sugar before adding to berries to prevent clumping and ensure smooth distribution.
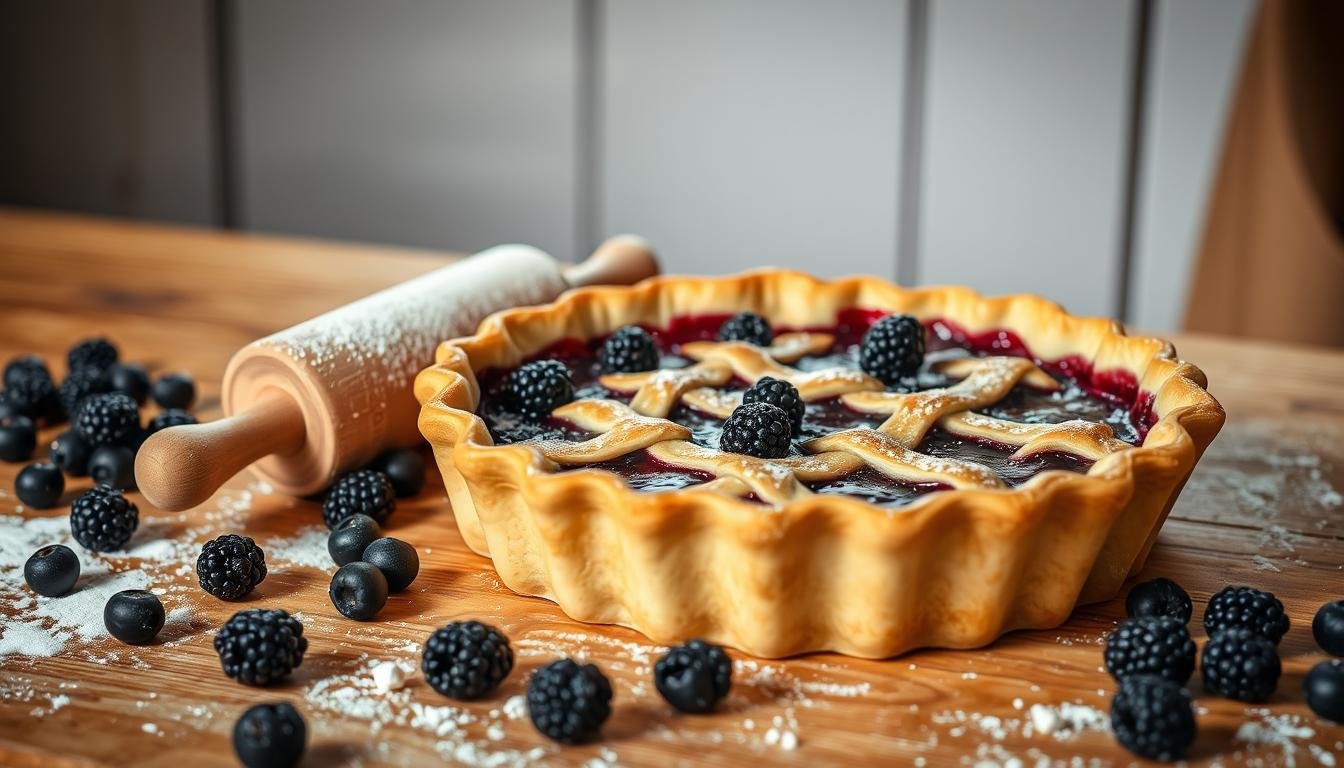
Assembling Your Blackberry Pie
Making the perfect homemade berry pie is all about how you put it together. Your blackberry pie is going to look amazing with a few simple steps. These steps will turn your best berry pie recipe into a beautiful dessert.
Layering the Filling Perfectly
Begin by making your bottom pie crust in a deep dish. Spread your blackberry filling evenly over it. Make sure to leave a little room around the edges to avoid spills when it bakes.
- Use a slotted spoon to transfer filling
- Spread filling evenly
- Avoid overfilling the crust
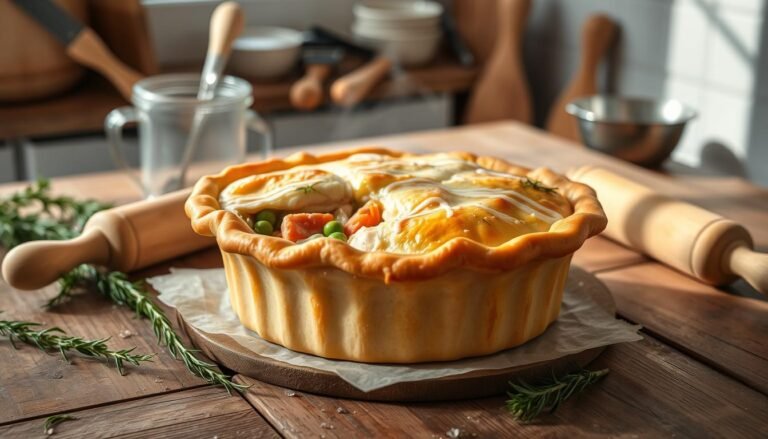
Covering with an Elegant Top Crust
The top crust of your homemade berry pie is key to its look. You can choose from a few options:
- Full top crust with decorative vents
- Lattice design for a classic look
- Crumb topping for added texture
Crimping the Edges Like a Pro
Crimping is not just for looks; it keeps the filling in. There are many ways to crimp, each adding its own charm to your pie:
| Crimping Method | Difficulty Level | Visual Impact |
|---|---|---|
| Fork Press | Easy | Simple |
| Pinch Method | Medium | Classic |
| Braided Edge | Advanced | Elegant |
“The art of pie-making is in the details” – Baking Enthusiasts Magazine
Remember, the more you practice, the better you’ll get at making your blackberry pie. Every try will bring you closer to a pie that’s as beautiful as it is delicious.
Baking Your Blackberry Pie
Making a tasty mixed berry pie needs careful steps. Your pie will go from raw ingredients to a golden, bubbly treat. It will make your taste buds happy.
Preheating for Success
Getting your oven ready is crucial for a great pie. Heat it to 375°F (190°C). This temperature cooks the pie evenly and makes the crust flaky.
Baking Time and Temperature Guidelines
- Standard baking time: 45-55 minutes
- Initial 25 minutes: Bake uncovered
- Final 20-30 minutes: Cover edges with aluminum foil to prevent over-browning
Recognizing a Perfectly Baked Pie
Your pie is done when you see these signs:
- Filling is bubbling through the top crust
- Crust is golden brown
- Filling appears thick and slightly set
“A perfectly baked pie is a work of art that speaks to both the eyes and the palate.” – Pastry Chef Emma Richardson
Pro tip: Use a pie shield or aluminum foil to protect the crust edges from burning. This keeps your pie looking as good as it tastes.
Cool Down and Set Time
Making a simple berry pie is more than just baking. The cooling process is key to turning your blackberry pie into a perfect dessert. Being patient during this time will reward you with a pie that looks and tastes amazing.
Importance of Cooling
When you take your pie out of the oven, the filling is still hot and runny. Letting it cool down helps the filling set and get a smooth texture. This process thickens the fruit juices with cornstarch, making the filling firm and delicious.
- Prevents runny filling
- Stabilizes pie structure
- Enhances flavor development
How Long to Let It Sit
Experts say to let your pie cool for 2-3 hours at room temperature. This time lets the filling set completely, making it easier to cut clean slices.
| Cooling Stage | Time Required | Result |
|---|---|---|
| Initial Cooling | 30-45 minutes | Warm pie, loose filling |
| Complete Setting | 2-3 hours | Firm, sliceable pie |
“Patience is the secret ingredient in creating the perfect pie.” – Grandma’s Baking Wisdom
By following these cooling guidelines, your blackberry pie will not only taste great but also look stunning when you serve it.
Serving Suggestions for Your Pie
Making delicious berry pie is more than just baking. Your easy berry pie recipe can become a special dessert with the right serving tips and sides.

Perfect Pairings to Elevate Your Dessert
A warm slice of blackberry pie is amazing with the right sides. The goal is to match the pie’s rich flavors without taking over.
Delightful Side Dish Recommendations
- Vanilla bean whipped cream
- Sharp aged cheddar cheese
- Fresh mint garnish
- Candied lemon zest
Ice Cream Pairing Guide
| Ice Cream Flavor | Flavor Profile | Complementary Score |
|---|---|---|
| Vanilla Bean | Creamy, Classic | ★★★★★ |
| Lavender Honey | Floral, Sweet | ★★★★ |
| Cinnamon | Warm, Spicy | ★★★ |
Think about temperature when serving your pie. A warm pie with cold ice cream is a hit with guests.
“The perfect pie is not just about the recipe, but how you serve it.” – Pastry Chef Amanda Reynolds
Try these ideas to find your top pick. Make your blackberry pie a hit with your favorite mix.
Storing and Reheating Leftovers
After making the best berry pie, knowing how to store and reheat it is key. Your dessert needs care to keep each slice as tasty as the first bite. This ensures every slice is as delicious as when it came out of the oven.
Proper Storage Techniques
Keep your homemade berry pie at room temperature for up to two days. Cover it with a pie dome or aluminum foil. For longer storage, refrigerate it in an airtight container for up to five days. Always let the pie cool completely before covering to avoid a soggy crust.
Reheating Tips for Freshness
To warm up your pie and keep the crust crisp, reheat slices in a 350°F oven for about 10 minutes. Don’t use a microwave, as it can make the crust soft. A toaster oven is great for small portions, keeping your pie almost as fresh as the first time.